
Key Takeaways
- Zero Equipment Needed: Uses gravity and a vertical surface to replace expensive reformer machines.
- Low Impact, High Results: Perfect for joint health while delivering deep muscle toning.
- 28-Day Progression: A structured roadmap from beginner activation to advanced endurance.
- Core & Posture: specifically targets the ‘powerhouse’ muscles to correct alignment and reduce back pain.
- Accessible for All Levels: Modifications available for seniors, beginners, and advanced athletes.
Does the idea of expensive reformer classes or crowded gyms keep you from achieving your fitness goals? You aren’t alone. Millions struggle to find a workout routine that is effective, affordable, and sustainable. The traditional Pilates reformer is brilliant, but it’s also bulky and costly.
Enter Wall Pilates. By using a simple wall as a resistance tool, you mimic the benefits of a reformer machine right in your living room. This 28-day challenge is designed to strip away the complexity of fitness. We leverage isometric holds, controlled movements, and gravitational resistance to sculpt your body, improve flexibility, and torch calories—all without a single piece of equipment. Here is your comprehensive 15-step blueprint to mastering Wall Pilates.
1. The Science: Why the Wall Works Like a Machine
Wall Pilates is not just a trend; it is a bio-mechanical hack. Traditional Pilates often relies on the Reformer, a machine using springs to provide resistance. In Wall Pilates, the wall acts as that immovable force, while gravity provides the resistance.
The Physics of Stability
When you press a limb against the wall, you engage in Closed Kinetic Chain (CKC) exercises. This increases joint compression, which stabilizes the joint and recruits more muscle fibers than open-chain exercises (like waving your hand in the air).
Key Mechanisms:
- Isometric Tension: Pushing against the wall creates static contraction, building strength without joint wear.
- Proprioception: The wall provides tactile feedback, helping you understand where your body is in space, correcting form instantly.
- Elevation: Elevating legs against the wall aids venous return, reducing swelling and improving circulation.

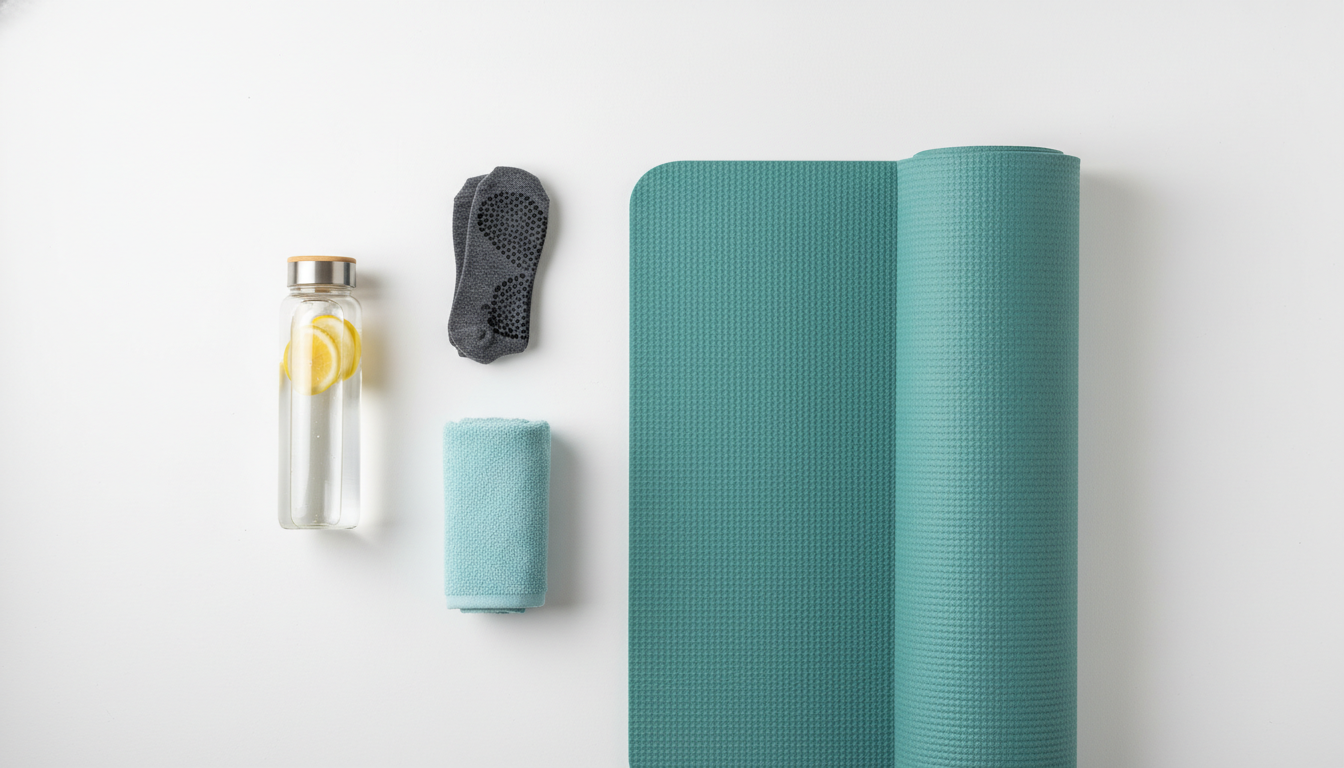
2. Setting Up Your Sanctuary: Space and Gear
One of the primary benefits of this challenge is the minimal barrier to entry. However, preparation is key to safety. You do not need a gym, but you do need a safe environment.
The Checklist
1. The Wall: You need a clear wall space of at least 6 feet wide. Ensure there are no hanging pictures, protruding nails, or electrical sockets near your feet or head.
2. The Floor: A non-slip yoga mat is non-negotiable. Socks can be slippery against wood or tile; either go barefoot for grip or invest in grip socks specifically designed for Pilates.
3. Clothing: Wear form-fitting clothes. Loose t-shirts can ride up during inversions (legs up the wall), and baggy pants can hinder your ability to check your alignment.
3. The Core Four Principles of Wall Pilates
Before attempting a single rep, you must master the mental connection. Pilates is not about mindless repetition; it is about control.
| Principle | Description | Why It Matters |
|---|---|---|
| Centering | Engaging the ‘Powerhouse’ (abs, lower back, hips, glutes). | All energy initiates from here. |
| Concentration | Total mental focus on the muscle working. | Prevents injury and maximizes efficiency. |
| Control | No momentum. Slow, deliberate movements. | Momentum cheats the muscle; control builds it. |
| Breath | Inhale to prepare, exhale on exertion. | Oxygenates blood and engages deep core muscles. |
Pro Tip: During every exercise, imagine pulling your navel toward your spine to activate the Transverse Abdominis.

4. Essential Move: The Wall Sit (Quadriceps)
The Wall Sit is the foundational isometric hold. It targets the quadriceps, hamstrings, and glutes while teaching you to keep a neutral spine.
Execution
1. Stand with your back flat against the wall.
2. Walk your feet out about 2 feet.
3. Slide down until your knees are at a 90-degree angle. Do not go lower.
4. Press your lower back into the wall. If you can slide a hand behind your back, your core is not engaged.
5. Hold for 30–60 seconds.
Modification: If 90 degrees is too hard, start at a 45-degree angle. To increase intensity, lift one heel off the ground alternatingly.

5. Essential Move: The Wall Bridge (Glutes)
This move mimics the ‘footwork’ series on a reformer. It is superior to a floor bridge because the wall elevation increases the range of motion for the hips.
Execution
1. Lie on your back with your buttocks about 1-2 feet away from the wall.
2. Place feet flat on the wall, hip-width apart.
3. Inhale: Prepare.
4. Exhale: Peel your spine off the floor, lifting hips toward the ceiling until you form a straight line from knees to shoulders.
5. Squeeze the glutes at the top. Avoid arching the lower back.
6. Slowly roll the spine back down, one vertebra at a time.
Reps: 3 sets of 12 reps.

6. Essential Move: Wall Push-Ups (Upper Body)
Standard push-ups are often too difficult for beginners, leading to poor form. Wall push-ups reduce the gravity load, allowing you to focus on chest and tricep engagement.
Execution
1. Stand arm-length away from the wall.
2. Place palms on the wall, slightly wider than shoulder-width, at chest height.
3. Step feet back so you are on the balls of your feet.
4. Inhale: Bend elbows to lower your chest toward the wall. Keep elbows tucked at a 45-degree angle (don’t flare them out).
5. Exhale: Press back to start.
Progression: The further your feet are from the wall, the harder the exercise becomes.

7. Essential Move: Wall 100s (Core Endurance)
The ‘100s’ is a classic Pilates staple. Using the wall ensures your legs stay at the correct angle, protecting the lower back.
Execution
1. Lie on your back, feet on the wall, knees bent at 90 degrees (Tabletop position).
2. Curl your head and shoulders off the mat, looking at your navel.
3. Extend arms long by your sides, hovering off the mat.
4. Pump your arms vigorously up and down (small movements).
5. Inhale for 5 pumps, Exhale for 5 pumps.
6. Repeat for 10 cycles (100 pumps).
Advanced: Straighten legs up the wall rather than keeping knees bent.

8. Essential Move: Single Leg Circles (Hip Mobility)
Hip mobility is crucial for reducing lower back pain. The wall provides a guide to ensure your hips stay square and stable.
Execution
1. Lie on your back with buttocks close to the wall.
2. Extend both legs straight up the wall.
3. Keep the left leg pressed firmly against the wall for stability.
4. Float the right leg off the wall slightly and circle it: down, around, and up.
5. Keep the pelvis completely still—imagine a cup of tea resting on your hip bone.
6. Perform 10 circles clockwise, then 10 counter-clockwise. Switch legs.

9. Essential Move: Wall Plank (Total Body)
A wall plank is safer for the wrists than a floor plank but still engages the entire anterior chain.
Execution
1. Assume the Wall Push-Up position but drop down to your forearms against the wall.
2. Walk feet back until your body is in a straight line from head to heels.
3. Tuck your tailbone slightly to engage the lower abs.
4. Press forearms into the wall to protract shoulder blades (push upper back away from the wall).
5. Hold for 30-60 seconds.
Checklist: Ensure hips do not sag toward the wall or pike away from it.

10. Week 1 Plan: Foundation & Activation
The first week of the 28-day challenge focuses on waking up the muscles and learning the form. Do not rush speed; focus on the mind-muscle connection.
Schedule:
- Day 1: Full Body Reset (20 mins)
- Day 2: Lower Body Focus (Wall Sits & Bridges)
- Day 3: Rest / Light Stretching
- Day 4: Upper Body & Core (Push-ups & 100s)
- Day 5: Full Body Flow
- Day 6: Active Recovery (Walking)
- Day 7: Rest
Goal: Master the neutral spine position in every exercise.

11. Week 2 Plan: Increasing Stability
In Week 2, we introduce instability to force the core to work harder. We will move from two-legged exercises to single-leg variations.
Modifications:
- Wall Bridges: Try lifting one leg off the wall while bridging.
- Wall Sits: March legs in place.
- Push-ups: Slow down the tempo (3 seconds down, 1 second up).
Schedule:
- Train 4 days this week.
- Focus on increasing the ‘Time Under Tension’ (TUT). Instead of 12 reps, aim for 15 slow reps.

12. Week 3 Plan: Strength & Endurance
By Week 3, your neuromuscular connection should be strong. We now increase the volume to build muscular endurance.
The Circuit Method:
Perform the 5 Essential Moves (Sits, Bridges, Push-ups, 100s, Planks) back-to-back with no rest. Rest 90 seconds after the full circuit. Repeat 3 times.
Intensity Check:
You should feel a significant ‘burn’ by the last few reps. If it feels easy, move your feet further from the wall (for planks/push-ups) or hold the isometric contractions longer.

13. Week 4 Plan: Mastery & Flow
The final week combines everything into a fluid ‘flow’. Pilates is meant to be rhythmic. Transition smoothly between exercises.
The Challenge:
- Day 26: 50 Reps of each exercise (broken into sets).
- Day 27: The ‘Centurion’ – 100 reps of your favorite move.
- Day 28: The Grand Finale Flow – A 45-minute continuous session incorporating all variations.
Celebration: Take a photo on Day 28 to compare with Day 1. Look for changes in posture (standing taller) and waist definition.

14. Common Mistakes to Avoid
Even with the wall for support, form errors can lead to injury or lack of results.
1. The Arching Back
Problem: During bridges or planks, letting the lower back hyperextend.
Fix: Tuck the pelvis. Think of bringing your ribs down toward your hips.
2. Holding Breath
Problem: Holding breath during the hard part of the movement raises blood pressure.
Fix: Exhale loudly through the mouth during the exertion (the push or the lift).
3. Neck Tension
Problem: Straining the neck during ab work.
Fix: Keep your gaze on your navel or thighs. If your neck hurts, support your head with one hand.

15. Tracking Progress & Nutrition
Wall Pilates will tone muscle, but nutrition reveals it. To maximize this 28-day challenge, pair it with proper fueling.
Nutritional Pillars:
- Hydration: Pilates works the fascia (connective tissue). Hydrated fascia slides; dehydrated fascia gets stiff. Drink 3L of water daily.
- Protein: Essential for repairing the muscles you break down during wall sits and push-ups.
- Whole Foods: Focus on anti-inflammatory foods to speed up recovery.
Tracking:
Don’t just use the scale. Use a tape measure on your waist, hips, and thighs. The scale may not move as you swap fat for dense muscle, but your inches will shrink.

Frequently Asked Questions
Can I lose weight with Wall Pilates?
Yes, but it is primarily a toning and strength workout. For significant weight loss, combine this 28-day challenge with a calorie deficit and increased daily steps (walking).
Do I need shoes for Wall Pilates?
Generally, no. Barefoot or grip socks are best. Regular socks can be dangerous as they may slip on the wall or floor. Shoes can be used if you have foot support needs, but they reduce foot articulation.
Is Wall Pilates safe for seniors?
Absolutely. It is low impact and the wall provides balance support, making it safer than free-standing exercises. However, always consult a doctor before starting new exercises.
How long should each workout be?
For beginners, 15-20 minutes is sufficient. As you progress to Weeks 3 and 4, sessions may extend to 30-45 minutes.
What if I can’t do a full push-up against the wall?
Step your feet closer to the wall. The more vertical your body is, the easier the push-up becomes. As you get stronger, step back.
Can Wall Pilates help with back pain?
Yes, by strengthening the deep core (Transverse Abdominis) and glutes, you support the spine. However, avoid exercises that cause sharp pain.
Is this safe for pregnancy?
Many moves are safe, but avoid lying flat on your back after the first trimester. Modifications (like standing wall moves) are excellent. Always clear it with your OB-GYN.
How is this different from Wall Yoga?
Yoga focuses on flexibility and static holding for mental relaxation. Pilates focuses on core strength, repetitive movement for endurance, and spinal alignment.
You might also like:- The 28-Day Wall Pilates Core Challenge: Master Your Physiology and Sculpt Your Core From Home
Discover more from innerspiritglow
Subscribe to get the latest posts sent to your email.

It’s fascinating how gaming platforms like AiScore build on centuries of casino tradition! Accessibility is key – like those early gaming houses & now the aiscore slot options. Great article, really enjoyed the historical perspective! 👍
Just saw someone talking about lucky. bet. Thinking about signing up on luckybetbrasil.com. Is it worth it? Find out more at: lucky. bet
Gotta hand it to laser 247 app, they’ve made the experience mobile friendly. I can play anywhere! Download it here: laser 247 app
Looking for the Lotus 365 app? Downloading it was super easy from the site. Now I’m betting anytime, anywhere. Grab the lotus 365 app download and join the fun!