
Introduction: Unlock the Secrets of a Glowing Complexion with DIY Rose Clay Face Masks
Are you tired of expensive skincare products that promise the world but fail to deliver? A DIY rose clay face mask might just be the solution you’ve been looking for. Rose clay, known for its gentle yet effective properties, is a popular ingredient in skincare routines for those who want glowing, clear, and smooth skin without relying on harsh chemicals.
Whether you’re dealing with sensitive skin or simply want to indulge in a luxurious self-care session, making your own rose clay face mask can offer numerous benefits. Not only is it a natural alternative, but it’s also customizable to target your unique skin concerns. In this article, we’ll dive deep into 6 powerful recipes for making a rose clay face mask that can help you achieve radiant skin at home.
By the end, you’ll have everything you need to create your perfect DIY mask — from the essential ingredients to helpful tips for optimal results. Let’s get started!
What is Rose Clay and Why It’s Good for Your Skin
Before diving into the DIY rose clay face mask recipes, it’s essential to understand why rose clay is so popular in skincare.
What is Rose Clay?
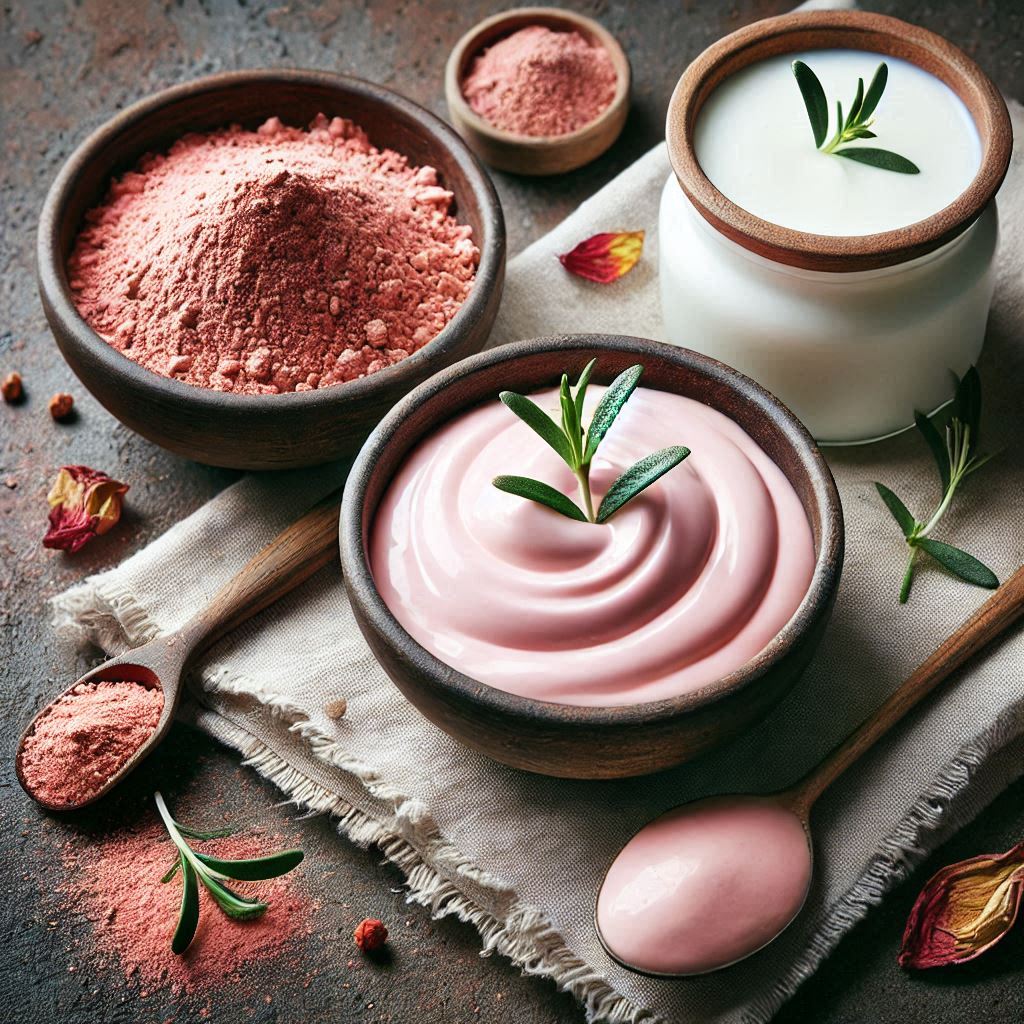
Rose clay, also known as pink clay, is a natural mineral-rich powder that comes from the earth. Its delicate pink color comes from a combination of red clay and white kaolin clay. The result is a product that is gentle yet powerful for all skin types, especially those with sensitive or dry skin.
Key Benefits of Rose Clay for Skin
- Gentle Exfoliation: Rose clay acts as a natural exfoliant, helping to remove dead skin cells, revealing a smoother and more youthful complexion.
- Detoxifying: It absorbs excess oils and impurities from the skin, preventing clogged pores and breakouts.
- Promotes Glowing Skin: The minerals in rose clay improve circulation, leaving your skin with a radiant glow.
- Soothing: It’s gentle on the skin, making it suitable for those with sensitive or irritated skin.
Rose clay’s mild nature makes it ideal for use in DIY rose clay face masks, especially if you’re looking for a mask that works for a variety of skin concerns while promoting a healthy, glowing complexion.
Basic Tips for Using Rose Clay in Face Masks
Before you start creating your own DIY rose clay face mask, here are some tips to ensure you get the best results.
Preparation Tips
- Mixing the Mask: For a smooth, spreadable mask, mix rose clay with water or hydrosols like rosewater or lavender water. The consistency should be thick enough to stay on your face but not too dry or pasty.
- Customize for Your Skin Type: Add ingredients like honey for dry skin or tea tree oil for acne-prone skin. Tailoring the mask to your skin’s needs can amplify its benefits.
Application Method
- Cleanse Your Face: Start with a clean face to remove dirt, oil, and makeup.
- Apply the Mask: Using clean fingers or a brush, apply an even layer of the mask all over your face, avoiding the sensitive area around your eyes.
- Leave for 10-15 Minutes: Allow the mask to sit on your face for 10-15 minutes, or until it begins to dry.
- Rinse Off: Gently wash off with lukewarm water and pat your skin dry with a soft towel.
Frequency of Use
For best results, use a DIY rose clay face mask 1-2 times a week. Overuse may dry out the skin, so it’s important to follow up with a moisturizer after each treatment.
6 Powerful DIY Rose Clay Face Mask Recipes
Now that you know the basics, let’s dive into 6 powerful recipes for making a rose clay face mask. These DIY masks are designed to target various skin concerns, leaving you with glowing, healthy skin.
Recipe 1: Rose Clay & Honey Mask for Moisture Boost
Ingredients:
- 2 tbsp rose clay
- 1 tbsp honey
- 1-2 tsp water (or rosewater for added benefits)

Steps:
- Mix the rose clay with honey and water until you achieve a smooth paste.
- Apply evenly to your face, ensuring it covers all areas.
- Leave the mask on for 10-15 minutes, then rinse with warm water.
Benefits: This mask hydrates dry skin and promotes a smoother texture. Honey acts as a natural humectant, drawing moisture into the skin.
Recipe 2: Rose Clay & Aloe Vera for Sensitive Skin
Ingredients:
- 2 tbsp rose clay
- 1 tbsp fresh aloe vera gel
- 1-2 drops lavender essential oil (optional)
Steps:
- Mix rose clay and aloe vera gel in a bowl.
- Add a few drops of lavender oil if desired for additional soothing properties.
- Apply to your face and leave it on for 10-12 minutes before rinsing.
Benefits: Aloe vera is a well-known skin soother, perfect for calming redness and irritation. This mask is ideal for those with sensitive skin looking to restore balance.
Recipe 3: Rose Clay & Tea Tree Oil Mask for Acne-Prone Skin
Ingredients:
- 2 tbsp rose clay
- 1 drop tea tree oil
- 1-2 tbsp green tea
Steps:
- Mix the rose clay with green tea until it forms a paste.
- Add a drop of tea tree oil and mix well.
- Apply to your face and leave for 10 minutes. Rinse off with warm water.
Benefits: Tea tree oil helps reduce acne-causing bacteria, while rose clay absorbs excess oil from the skin, preventing future breakouts.
Recipe 4: Rose Clay & Yogurt for Brightening
Ingredients:
- 2 tbsp rose clay
- 2 tbsp plain yogurt
- 1 tsp lemon juice
Steps:
- Mix all ingredients until smooth.
- Apply the mask and leave it on for 10-15 minutes.
- Rinse thoroughly with lukewarm water.
Benefits: Yogurt contains lactic acid, which brightens the skin and helps even out skin tone. This mask is perfect for anyone with dull or uneven skin.
Recipe 5: Rose Clay & Coconut Oil for Deep Moisturizing
Ingredients:
- 2 tbsp rose clay
- 1 tbsp coconut oil
- Pinch of turmeric
Steps:
- Combine rose clay and coconut oil in a bowl.
- Add a pinch of turmeric and mix well.
- Apply to your face and leave it on for 10-15 minutes before rinsing.
Benefits: Coconut oil is deeply moisturizing, and turmeric helps with inflammation and redness, leaving you with soft, hydrated skin.
Recipe 6: Rose Clay & Rosewater for a Refreshing Mask
Ingredients:
- 2 tbsp rose clay
- 2 tbsp rosewater
- 1-2 drops Vitamin E oil
Steps:
- Mix rose clay with rosewater until it forms a paste.
- Add a few drops of Vitamin E oil and apply the mask to your face.
- Leave on for 10-15 minutes before rinsing off.
Benefits: Rosewater refreshes tired skin, and Vitamin E oil helps to nourish and hydrate, making this mask ideal for revitalizing the skin.
How to Enhance the Benefits of Rose Clay Masks
Want to get even more from your DIY rose clay face mask? Here are a few ways to enhance the mask’s benefits:
- Add Essential Oils: Essential oils like lavender, frankincense, or chamomile can add extra soothing or anti-aging benefits.
- Post-Mask Skincare: Follow up with a nourishing moisturizer to lock in hydration. Consider using an oil-based serum for added glow.
- Consistency is Key: For lasting results, use a DIY rose clay face mask consistently. It may take a few weeks to notice a significant change, so be patient.
Precautions and Common Mistakes to Avoid
While rose clay is gentle, it’s essential to use it properly:
- Overuse: Applying a clay mask too frequently can dry out your skin. Stick to 1-2 times per week.
- Incorrect Ingredients: Be mindful of the ingredients you mix with rose clay. Some may irritate or dry your skin, so make sure to choose ingredients suited to your skin type.
- Sensitive Skin Test: If you have sensitive skin, always patch test a small amount of the mask on your wrist before applying it to your face.
Conclusion: Glowing Skin Awaits!
A DIY rose clay face mask is an easy, natural way to achieve glowing, healthy skin. By incorporating the right ingredients for your skin’s needs, you can tackle a range of concerns, from dryness to acne. Try out the recipes in this article and discover which works best for you!
If you enjoyed this guide and want to share your own DIY rose clay face mask recipes or experiences, feel free to leave a comment below. Don’t forget to share this article with friends who might benefit from these natural skincare tips. Your glowing skin journey starts now!
Have you tried a DIY rose clay face mask before? Which recipe was your favorite? Let us know in the comments below, or share this article with friends who would love to try these recipes! For more beauty tips, check out our other articles on DIY skincare and glowing skin routines.
Also, read👉🏻 TYPES OF FACE MASKS: 8 Must-Try Powerful Masks for Glowing Skin
Frequently Asked Questions About DIY Rose Clay Face Mask
1. What is a DIY Rose Clay Face Mask?
A DIY rose clay face mask is a natural skincare treatment made using rose clay, a gentle exfoliating and detoxifying ingredient. When mixed with other nourishing ingredients like honey, aloe vera, or essential oils, it can help cleanse, hydrate, and rejuvenate the skin, leaving it with a glowing, smooth complexion.
2. How often should I use a DIY Rose Clay Face Mask?
For optimal results, you should use a DIY rose clay face mask 1-2 times a week. This allows the mask to work effectively without over-drying or irritating your skin. Make sure to follow up with a good moisturizer to keep your skin hydrated.
3. Can a DIY Rose Clay Face Mask help with acne?
Yes, a DIY rose clay face mask can help with acne. Rose clay absorbs excess oil from the skin and detoxifies it, which can prevent clogged pores and reduce the occurrence of breakouts. Adding ingredients like tea tree oil or honey can enhance its acne-fighting properties.
4. Is a DIY Rose Clay Face Mask suitable for sensitive skin?
Yes, DIY rose clay face masks are generally suitable for sensitive skin due to the mild and soothing properties of rose clay. However, it’s always a good idea to perform a patch test before applying the mask to your entire face to ensure it won’t cause any irritation.
5. Can I customize my DIY Rose Clay Face Mask?
Absolutely! A DIY rose clay face mask is highly customizable. Depending on your skin type or concerns, you can mix rose clay with various ingredients like honey, aloe vera, yogurt, or essential oils. Each combination can address specific skin issues, such as dryness, acne, or dullness.
6. How long should I leave a DIY Rose Clay Face Mask on my face?
For the best results, leave your DIY rose clay face mask on for about 10-15 minutes. If the mask begins to dry and tighten on your face, it’s time to rinse it off. Avoid leaving it on too long to prevent the mask from drying out your skin.
7. Can a DIY Rose Clay Face Mask be used for other skin concerns?
Yes, a DIY rose clay face mask can target a variety of skin concerns. Depending on the ingredients you mix with the rose clay, it can help with acne, dryness, skin irritation, dullness, and even signs of aging. Tailor the mask to suit your skin’s specific needs.
8. What are the benefits of using a DIY Rose Clay Face Mask regularly?
Regular use of a DIY rose clay face mask can help improve skin texture, minimize pores, hydrate the skin, and leave your complexion looking brighter and more youthful. The mask’s detoxifying properties help cleanse the skin, promoting overall skin health.
Discover more from innerspiritglow
Subscribe to get the latest posts sent to your email.